Good code should be self-documenting, but sometimes you also need to generate external documentation for reference purposes. In this post I’ll show you how to use two open-source tools and a build script to create beautiful, Apple-style HTML documentation files in Xcode. I’ll also show you how to create docsets for Xcode so that your class references show up right along side Apple’s! It will be a seamless and dare I say, enjoyable, process for generating documentation.
Installing the Annotation Plugin
First install a fantastic open-source Xcode plugin called VVDocumenter-Xcode that makes annotating your source code a breeze! Open a Terminal window and clone the following repository:
git clone https://github.com/onevcat/VVDocumenter-Xcode.git
Note: this is for Xcode 5 only. For Xcode 4, use:
git clone https://github.com/onevcat/VVDocumenter-Xcode/tree/Xcode4
Open the VVDocumenter-Xcode.xcodeproj file inside the VVDocumenter-Xcode folder your just created. Press Build. That’s it! You’ve just installed the plugin. Now restart Xcode, open one of your projects, and above any method in your code type three slashes:
///
-(id)initWithFrame:(CGRect)frame
...
.NET developers will recognize this gesture from Visual Studio! The plugin will instantly insert an Xcode-style snippet pre-filled with all the right placeholders for your method, including description, parameters, and return type! Press the tab key to move through each of them one by one. It is a thing of beauty!

Installing the Documentation Generator
Now let’s setup a second tool called appledoc to actually generate real documentation files from your annotations. Unfortunately, the project currently does not build, but you can download the binary here. Extract the zip file and copy the appledoc executable inside into the following folder:
/usr/local/bin
Test your installation by typing this in an Terminal window:
which appledoc
This will show you the location of the appledoc binary. If you don’t see such a message, something went wrong; try again.
Configuring the Build Script
Now let’s create a build script in Xcode to automatically invoke appledoc every time that we do a build. Click on your Project name in the Navigator, and then click on your main build target under Targets. Click on the Build Phases tab. Go to Editor > Add Build Phase > Add Run Script Build Phase. Copy and paste the following code over the text that says ‘Type a script or drag a script file from your workspace to insert its path.’ Remember to update your name and company name!
#if [ ${CONFIGURATION} == "Release" ]; then
APPLEDOC_PATH=`which appledoc`
if [ $APPLEDOC_PATH ]; then
$APPLEDOC_PATH \
--project-name ${PRODUCT_NAME} \
--project-company "Your Name" \
--company-id "com.yourcompany" \
--output ${PRODUCT_NAME}Docs \
--keep-undocumented-objects \
--keep-undocumented-members \
--keep-intermediate-files \
--no-repeat-first-par \
--no-warn-invalid-crossref \
--exit-threshold 2 \
${PROJECT_DIR}/${PRODUCT_NAME}
fi;
#fi;
Your documentation will be generated in a folder called ${PRODUCT_NAME}Docs under your project folder. This folder will not be tracked by git unless you explicitly use the git add command. It’s up to you whether you want documentation in your repository or not. You can also modify the script to save the documentation in a folder outside of your repository. For more options visit the appledoc site.
Testing
Try it out! In your Issue Navigator and you will see tons of warnings about missing documentation. Use that to help you find places where your documentation annotations are missing. If you want the script to run only on release builds, just remove the hash symbol from the first and last lines of the build script.
Now open your project folder in Finder and you should see a new ${PRODUCT_NAME}Docs folder! Inside there is an html folder. Open the index.html file in a browser and let the oohs and aahs begin! Inside your docs folder you should also see a docset folder. Inside you should see a docset-installed.txt file telling you that your docset was installed to Xcode, and where it is located. By default, docsets are located here:
~/Library/Developer/Shared/Documentation/DocSets/
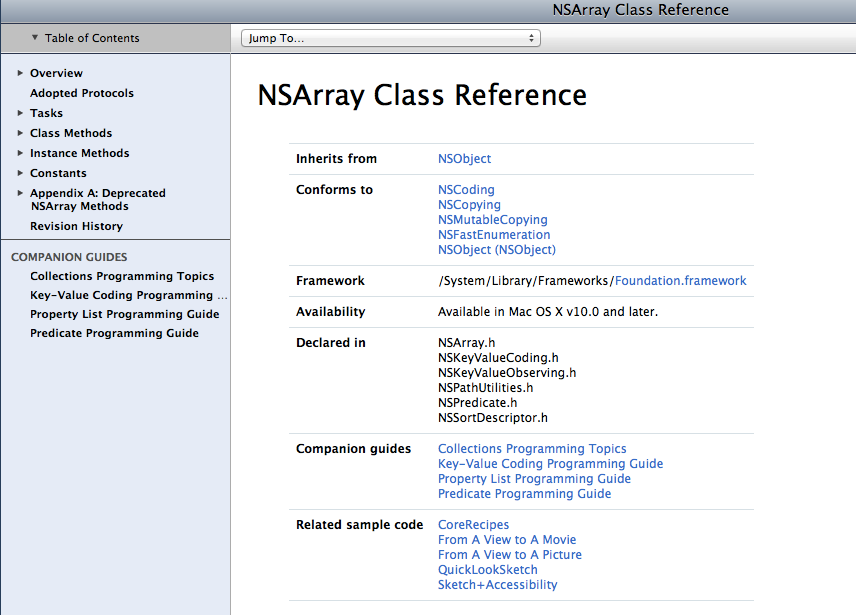
Now your class references are now available side-by-side with Apple’s own documentation inside Xcode! How cool is that? You can see them by going to Help > Documentation and API Reference.
And there you have it! With better documentation you make your co-workers, clients, and even your future self much happier! Happy coding!

Thanks for that Martin. This was extremely helpful!
Reblogged this on Sutoprise Avenue, A SutoCom Source.
Great to see a detail tutorial of doc generation and an introduction of VVDocumenter here. Thank you, it is helpful!
Getting error : ERROR: AppledocException: No predefined templates path exists and no template path specified from command line!
At what point are you seeing this message? I followed the instructions again and was able to get it working without a problem.
when i archive app with xcode 5
It is generating error like :xtractShippedTemplatesToPath failed to unzip the zip from /var/folders/th/yqj8zzln0ps2_mqxjt_4043x_3ty53/T/557327DF-7074-4277-8450-4FB4A91D871E-3605-000013355553C0C0 TO /Users/paritosh.raval/.appledoc
I was able to archive just fine. I updated the build script to run in debug mode and check for a valid appledoc installation. Can you try building in debug mode?
Hey..its working now. thanks a lot.. it is a great blog and great effort for solving my issue..
i don’t know i follow the steps given in https://github.com/tomaz/appledoc and try
sudo sh install-appledoc.sh (if you need templates add ‘-t default’)
sudo sh install-appledoc.sh -b /usr/bin -t ~/Library/Application\ Support/appledoc
and set my edit scheme to debug for all.. archive..build and all things and its working fine.
Thanks again.. Happy Coding:)
No problem. Enjoy!
Wonderful
Great post. Most helpful thing I found over the internet for generating doucments
Thanks!
Good evening Martin,
Thanks to help for sql connection. Now I am creating documentation of my source code. My client want documentation for both header file as well as implementation file. But your way create doc for .h file only. So please let me know any correction to create doc for .m file also.
Are you using the build script from this blog post or from the SQLClient project? The one in the SQLClient project has a line that must be removed if you want to generate docs from .m files:
--ignore "*.m".I am using this blog post. And want to generate docs for both .h and .m .
I am not getting doc from .m files. Mean that is not working.
Can we create doc as pdf or text file instead of html?
It Works!!
The appledoc doesn’t work on Xcode 5.1. So I had to install it from the binary files provided by the creator from this link https://github.com/tomaz/appledoc/releases/tag/v2.2-963
Thanks! I updated the post.
Hi, great post! Installing appledoc is no problem and “which appledoc” works fine in Terminal, but I still can’t see any generated documentation? No errors or warnings in Xcode either, so I must be missing something? Thanks for any help!
I used the target script tutorial instead: https://github.com/tomaz/appledoc/blob/master/XcodeIntegrationScript.markdown
Thank you for showing how to do this, I look forward to trying it when I need documentation of this sort.
I followed the instructions directly, but there are no documentation generated. Can you help me?
Solved it. APPLEDOC_PATH=`which appledoc` did not return appledoc path, so I had to hardcode it instead
Good to hear!
Still want to know, why `which appledoc` doesn’t work from run script…
Pingback: Easy Documentation Generation in XCode | Matthew Styles